An introduction to Print Design for beginner Graphic designers
As a graphic designer, one thing you might get asked to do is to provide printed collateral for your client. This guide is an all-encompassing resource, providing you with everything you need to know for your next print design project.
What is Print Design?
Print design is a form of graphic design that focuses on creating artwork intended for print on physical goods. That means packaging, posters, signage, and anything that is designed with the intent to be printed.
Printing Guidelines and Best Practices For Graphic Designers
Remember That Ink Behavior Varies with Each Type of Paper
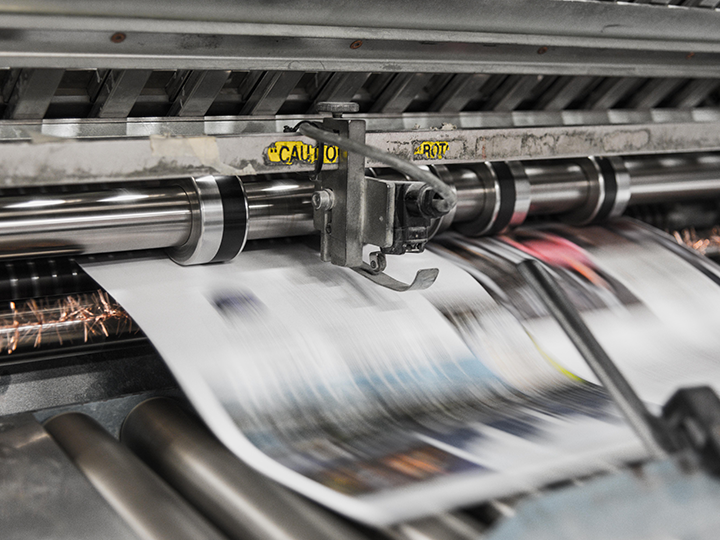
It's important to remember that the type of paper used often determines the ink behavior, regardless of the print method. Depending on the choice of paper, digital, web offset printing, and screen printing, print designs may produce a result where the ink will spread or seep into the paper more than anticipated. This can significantly affect print quality, so make sure to consider your paper options throughout your design process.
Enhance Contrast and Depth Using Rich Blacks
Usually, when aiming for a value of black, you would open up the color picker and drag the selector to the bottom left or right corner, but this wouldn't be the best practice for print design. When printing vector graphics, stationary, and art prints, It is better to use rich blacks. Rich blacks are created by combining various colors, resulting in a deeper, richer black tone (C = 60, M = 60, Y = 60, K = 100). In most cases, using this technique will produce much better output than relying on the standard pure black, especially when printed on digital documents or art prints.
Run Test Prints at Home
Printing can be a tricky process, and often you only know the end result once ink hits paper. That's why it's essential to run test prints. Before you consider sending your files off to a printer, try running a few test prints at home if you have the resources. Doing this will allow you to identify potential issues before sending things off to your print providers.
Make Sure Your Images and Art Board Are at 300 Resolution
When creating print-ready documents, it's important to keep image resolution in mind. Images meant for print need to be at 300 resolution or higher - this applies to both raster and vector formats, which sometimes include raster effects. Lower resolutions risk making your artwork look pixelated in both digital and offset printing. To guarantee a crisp print job, always ensure your images and final documents are at least 300 dpi.
Consider Paper Weight & Finishes
When it comes to paper weight and finishes, GSM is key. GSM stands for Grams per Square Meter - the higher the GSM number, the heavier the paper. Printers can help determine which GSM works best depending on the project and intention of usage. The specific GSM for text and cover weight paper can vary depending on the manufacturer and the specific type of paper. To compliment your paper choice there are also speciality finishes like debossing and embossing that can be used to add flare to your designs when printed.
Make Outlining and Embedding Your Typefaces a Habit
When creating layouts and designs for print-ready files, it's a good idea to expand your text and typography, as your printer providers may not have the typefaces used within your design. Outlining your text takes the typefaces used in your layout and expands them. Doing this can help avoid typographical errors due to non-matched fonts. Embedding typefaces also helps ensure all typography stays intact when opened on different systems by keeping the fonts within your file. These are good guidelines to follow within the graphic design world. Use them wisely!
Don’t Forget to Proofread
Before sending any design to print, it is important to make sure each detail has been carefully checked for accuracy. A good method for proofreading begins with a process of active reading. This means further than giving a cursory glance, actively look for potential errors or corrections that can be made. Pay particular attention to measurements in both physical design elements like margins and padding as well as typographical elements like font size and line spacing.
Use PDFs When Sending Designs Off for Print
This often varies based on your print service provider and the task at hand, but as a rule of thumb, you can always feel good about exporting and sending over a PDF for your print service provider. Portable Document Format files are the ideal way to produce print-ready files, as they work with most print methods while having a relatively small file size. A PDF will almost always guarantee your colors translate correctly when sending designs off for print.
Always Ask for the Proofs
To ensure correct colors and that your finished product is free of errors, ask your print service to provide print proofs before producing the final prints. Printing proofs will help you ensure your final prints match what you see on screen and vice versa.

Must-Know Terms for Print Design
| Term | Description |
|---|---|
| Ink Color Density | Ink Color Density is the amount of ink used when printing a particular color on a material, with higher density using more ink in a certain area. |
| Bleed | Bleed is the area of a document that extends past its actual size in order to ensure that the design prints all the way to the edge. 0.125 inches of bleed is standard across most print options. |
| Slug | Slug is the area of space that allows for additional information to be printed on the sheet or page. It typically appears at the top, bottom, or sides of a document and serves as a place for designers to add final technical details. |
| Crop Marks | These are thin lines that indicate the intended size and shape of printed material, such as brochures and flyers. Crop marks appear on the outside edges of your document. |
| CMYK | CMYK is an acronym for Cyan, Magenta, Yellow, and Key (Black). It is a color model used in the printing industry to create full-color prints. CMYK refers to the four inks used in some color printing. |
| DPI | DPI is a measure of resolution used to indicate the number of dots per inch are in an image or printed piece. The more dots there are on a page, the better quality and sharpness your final product will have when viewed close up. A minimum of 300 dpi should be used for optimized print design results, but sometimes this can be higher. |
| PMS | PMS stands for Pantone Matching System and is used in the print design world to ensure that colors specified by a designer match what will be printed. Pantone colors act as spot colors. Each individual Pantone color has its own specific numerical value that remains in correspondence no matter the print provider. |
| Safety Area | The safety area in print design is the area that ensures important elements of your design or document will not be cut off or trimmed during the printing process. |


